How to Create the Perfect Gallery Wall: A Step-by-Step Guide
A gallery wall turns a blank space into the heart of your home. This isn't just a popular decorating idea; it's part of a bigger movement. A recent market report from Grand View Research shows that people everywhere are actively seeking ways to make their homes more personal. A gallery wall, filled with your favorite custom wall art, treasured photos, and unique prints, is the perfect way to do that.
While the end result looks impressive, the process doesn't have to be complicated. Forget guesswork and unnecessary nail holes. This practical, step-by-step guide will walk you through everything in three simple phases: choosing your art, planning the layout, and hanging it perfectly.
Let's get started.
Step 1: Choose Your Art
The first step is gathering the pieces that will tell your story. A great gallery wall feels connected, usually through a theme or color palette. Here are a few specific "recipes" to show you what's possible:
Example Theme 1: The "Modern Minimalist"
This style is clean, calm, and intentional.
- What to hang: A mix of black-and-white architectural photos, simple abstract line art, and one or two pieces of your own custom photo wall art converted to monochrome.
- Frames: Keep it simple. Use all thin, black or white metal frames for a unified look.
- Best for: Living rooms, home offices, or anywhere you want a sophisticated feel.

Custom Canvas Wall Art for Gifts
MyArtsyGift - Personalized Custom Canvas Prints, Custom Photo On Canva
Example Theme 2: The "Warm & Cozy Family"
This style is all about emotion, history, and comfort.
- What to hang: A collection of custom family wall art. Mix a sepia-toned photo of your grandparents with vibrant, recent snapshots of your kids. Add a framed drawing from your child or a handwritten recipe from a relative.
- Frames: Use a variety of warm wood tones (like oak and walnut) and maybe a single metallic frame for an accent.
- Best for: Hallways, staircases, and family rooms.

Custom Canvas Prints With Your Photos
Custom Photo on Canvas Wall Art Print – MyArtsyGift
Example Theme 3: The "Boho Traveler"
This style is eclectic, colorful, and full of adventure.
- What to hang: Combine colorful photos from your travels, a framed map of a favorite city, vintage postcards, and even small, lightweight objects like a woven tapestry or a string of beads.
- Frames: Mix and match! Natural wood, painted frames, and even unframed canvases work well together here.
- Best for: Bedrooms, entryways, or any space that needs a burst of personality.

Personalized Pictures On Canvas Wall Art for Family
Custom Photo Canvas Print (Personalized Art) – MyArtsyGift
Example Theme 4: The "Hobbyist's Corner"
This style celebrates your passions.
- What to hang: If you love gardening, frame beautiful botanical prints and photos of your own garden. If you're a musician, use old sheet music, photos of your instruments, or framed concert tickets. A piece of custom picture wall art featuring your proudest creation (a cake, a painting, a knit sweater) can be the centerpiece.
- Frames: Choose frames that match your hobby's aesthetic—rustic wood for gardening, sleek black for music, or colorful frames for a craft corner.

Custom Canvas Prints With Your Photos
Custom Photo on Canvas Wall Art Print – MyArtsyGift
So, Where to Source Your "Art"?
The charm of a gallery wall lies in the diversity of its sources.
- MyArtsyGift: This is the ideal platform to turn your ideas into reality. You can easily transform digital photos from your phone into high-quality custom picture wall art.
- Unique AI Creations: If you want a piece that is truly one-of-a-kind, try using AI tools like Midjourney to generate an image. You can then upload it to MyArtsyGift and turn it into a real piece of art. It's a magical "from prompt to product" experience.
- Support Independent Artists: You can also browse designs from independent artists around the world on MyArtsyGift. Choosing a piece with a story not only enriches your gallery wall but also provides an artist with income from every sale, supporting them to continue their creative work.
- Your Own Life: Don't forget the small items full of memories—a child's drawing, an old movie ticket, a pressed leaf. Framing them adds the most genuine details to your story.
Step 2: Plan Your Layout (The No-Mistakes Method)
This is the most important step for a stress-free result. Planning your layout first means you will hang each piece perfectly the first time.
1. The Floor Rehearsal
Before you touch the wall, use the floor.
- Find an open space on your floor that's roughly the same size as your target wall space.
- Arrange your framed art on the floor. Move the pieces around until you find a composition you love.
- Pro Tip: Spacing is Key. A good rule of thumb is to keep the space between your frames consistent, about 5-8 cm (2-3 inches). This creates a clean, intentional look.
2. The Paper Template Trick
Once you're happy with your floor arrangement, it's time to create paper templates.
- Trace and Cut: Get some kraft paper or newspaper. Place each frame face-down on the paper, trace its outline, and cut it out.
- Mark the Nail Spot: This is the secret to easy hanging. On the back of your frame, measure the distance from the top of the frame to the hanging wire or sawtooth hanger. Then, on your corresponding paper template, measure that same distance down from the top edge and mark the spot with an "X". This "X" is exactly where your nail will go.
- Tape to the Wall: Using painter's tape, stick your paper templates to the wall in the exact arrangement you finalized on the floor.
Now you have a full-scale, visual map of your gallery wall, complete with the precise location for every nail. Live with it for a day to make sure you love the placement.

Step 3: Hang Your Gallery Wall
With your blueprint taped to the wall, the final step is quick and satisfying.
Gather Your Tools
You'll only need a few things:
- A hammer
- Nails (or screws for very heavy pieces)
- A level (most smartphones have a built-in level app)
- A measuring tape

The Hanging Process
- Start with the Center: It's often easiest to hang the largest or most central piece first and work your way out.
- Nail on the "X": Hammer your nail directly through the "X" you marked on your paper template.
- Tear and Hang: Gently tear away the paper template. Hang your frame on the nail.
- Check Your Level: Place your level on top of the frame to make sure it's perfectly straight. Adjust if needed.
- Repeat: Continue this process for all your pieces.
For a No-Holes Option: Use Adhesive Strips
If you're a renter or simply don't want to make holes, adhesive hanging strips are an excellent solution.
- Check the Weight: Always use strips that are rated to hold more than the weight of your frame.
- Clean the Wall: Wipe the wall area with rubbing alcohol first to ensure the strips adhere properly.
- Press Firmly: Follow the package instructions and press the strips firmly to both the frame and the wall to create a strong bond.
Your Story is on the Wall. What's Next?
Step back and admire your work. You've successfully transformed a blank wall into a beautiful, personal story. You followed the steps: you chose your art, planned your layout without making a single mistake, and hung each piece with confidence.
Now that you know the process, you can add to your wall over time, letting your story continue to grow. Regular maintenance of your custom canvas wall art will ensure your personal story remains as vivid as the day you first hung it.

Personalized Pictures On Canvas Wall Art Made in USA>
Custom Photo Canvas Print (Personalized Art) – MyArtsyGift
Gallery Wall FAQs
Q1: How high should I hang my gallery wall?
A: Aim to have the center of the entire grouping at eye level, which is usually about 57-60 inches (around 150 cm) from the floor. If you're hanging it over a sofa, leave about 15-20 cm (6-8 inches) of space above the back of the sofa.
Q2: Should all my frames match?
A: It's up to you! Matching frames create a very formal, unified look. A mix of different frames creates a more eclectic, relaxed vibe. If you mix frames, try to have at least one thing in common (e.g., all are black, or all are made of wood) to keep it from looking too chaotic.
Q3: Can I build a gallery wall on a staircase?
A: Yes! The best way is to follow the upward angle of the stairs. Use the stair steps as your guide and keep the distance from the steps to the bottom of your frames consistent as you go up. This creates a beautiful, cascading effect.
Featured Products to Personalize | Ready to Buy
Custom Canvas Prints With Your Photos,Personalized Pictures On Canvas Wall Art for Wedding Baby Pet Family
- From $19.99
- From $19.99
- Unit price
- per
-
Frame-style
-
Unframe-style
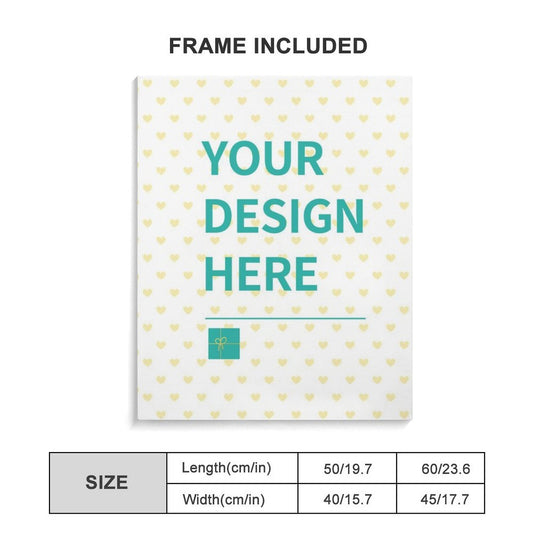
Custom Canvas Prints With Your Photos, Personalized Pictures on Canvas Wall Art for Living Room
- From $23.99
- From $23.99
- Unit price
- per
-
Frame-style
-
Unframe-style
MyArtsyGift - Custom Canvas Prints With Your Photos,Personalized Pictures On Canvas Wall Art for Gift
- From $21.99
- From $21.99
- Unit price
- per
-
Frame-style
-
Unframe-style
MyArtsyGift - Personalized Custom Canvas Prints, Custom Photo On Canvas Gifts Canvas Wall Art 16×32 Inch
- $56.99
- $56.99
- Unit price
- per
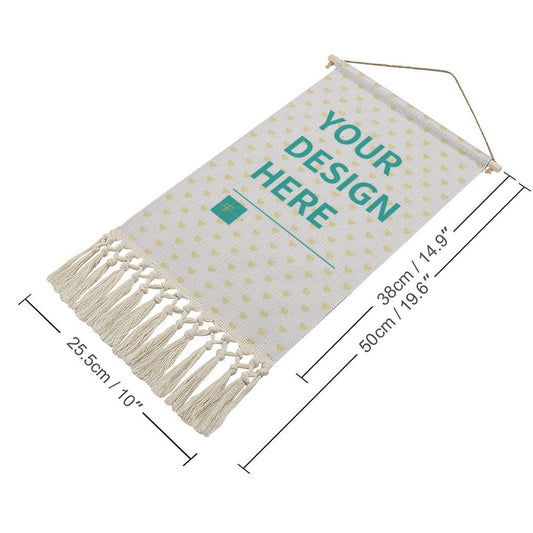
Custom Cotton and Linen Hanging Poster, Personalized Wall Art Poster Picture for Home Decor
- $22.99
- $22.99
- Unit price
- per
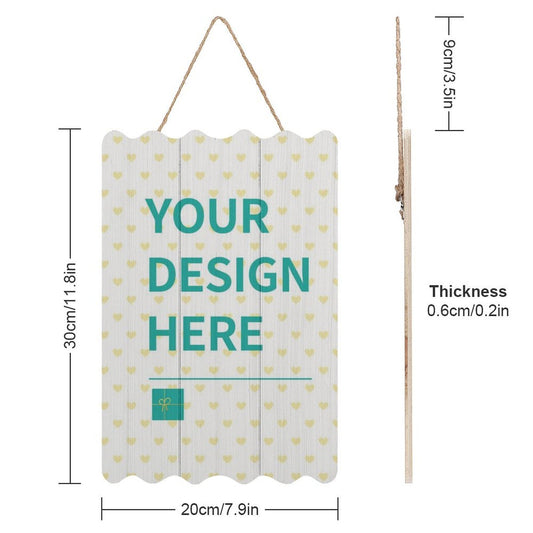
Personalized Wood Sign Customized Wave Shaped Hanging Signs for Coffee Kitchen Bar Shop Decor
- $28.99
- $28.99
- Unit price
- per
Personalized Custom Tapestry Customized Wall Hanging Personalized Backdrop for Living Room
- From $18.99
- From $18.99
- Unit price
- per
-
style
Personalized Custom Tapestry Customized Wall Hanging Personalized Backdrop for Living Room
- From $18.99
- From $18.99
- Unit price
- per
-
style

Custom Round Tin Sign for Home Decor Kitchen Bar Coffee Shop,Personalized Custom Round Metal Signs
- $29.99
- $29.99
- Unit price
- per
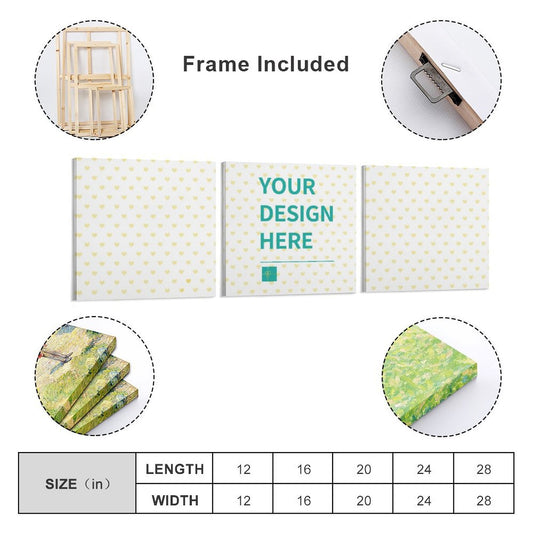
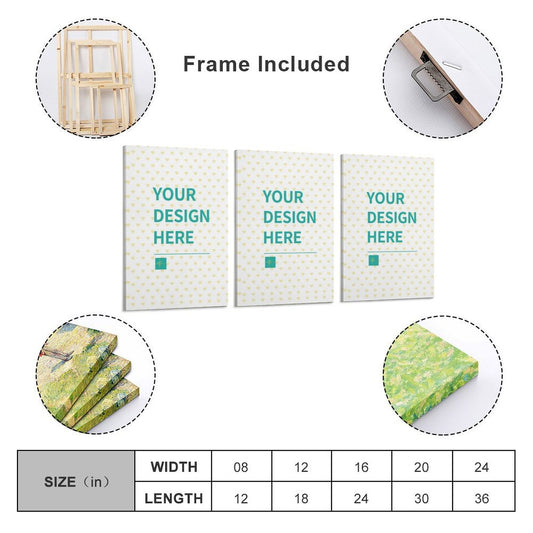
Custom Photo Prints Personalized 3 Piece Canvas Wall Arts for Family Wedding Friends Anniversary
- From $28.99
- From $28.99
- Unit price
- per
-
Frame-style
-
Unframe-style

Custom Photo Ceramic Dishes with Display Stand Personalized Bone China Decorative Plate
- From $29.99
- From $29.99
- Unit price
- per
-
style

Custom Metal Tin Sign With Your Own Image/logo/Text, Personalized Vintage Retro Tin Sign for Wall Outdoor Vertical
- From $24.99
- From $24.99
- Unit price
- per
-
style
Custom Metal Tin Sign Personalized Tin Sign Custom Sign for Wall Outdoor, Indoor, Street, Office, Home
- $28.99
- $28.99
- Unit price
- per

Custom Metal Tin Sign Design Your Own Personalized Vintage Retro Tin Sign for Wall Outdoor
- From $24.99
- From $24.99
- Unit price
- per
-
style
Custom Metal Signs Customized Tin Sign for Business Office Wall Custom Street Sign Bar Signs Vertical
- From $24.99
- From $24.99
- Unit price
- per
-
style
Custom Metal Signs Customized Tin Sign for Business Office Wall Custom Street Sign Bar Signs
- From $24.99
- From $24.99
- Unit price
- per
-
style

Custom Magnet Hanging Poster, Personalized Canvas Prints Wall Art Magnet Poster Decor for Living Room Bedroom
- $28.99
- $28.99
- Unit price
- per
Custom Canvas Prints with Your Photos Personalized Canvas Wall Art for Home Decor,Family Gifts
- $49.99
- $49.99
- Unit price
- per
Custom Canvas Prints with Your Photos 3 Panel Hanging Wall Art Set for Baby Pet Family
- From $27.99
- From $27.99
- Unit price
- per
-
Frame-style
-
Unframe-style
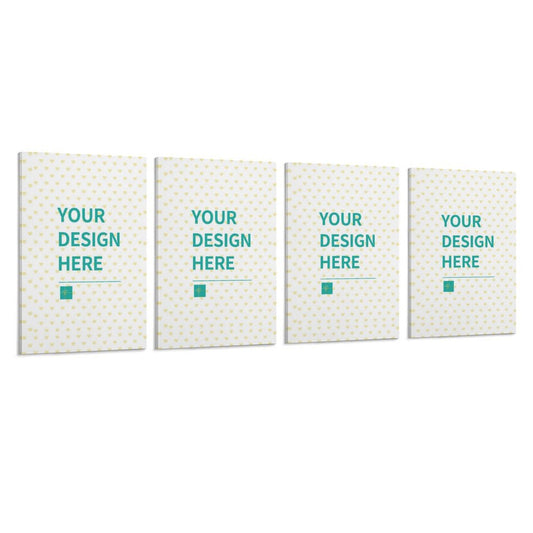
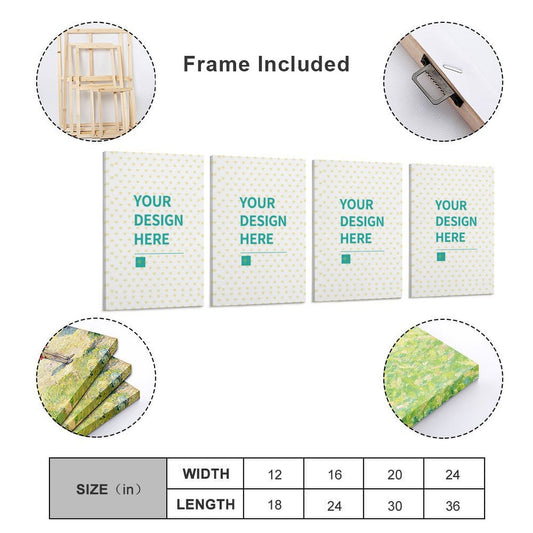
Custom 4 Panel Hanging Posters Vertical Add Your Own Image Personalized Holiday Birthday Gifts
- From $32.99
- From $32.99
- Unit price
- per
-
Frame-style
-
Unframe-style